Almost three years ago (!!) I did a post on the start of my AWI project. I was fairly cautious about the progress I was likely to make (wisely as it turned out), and the number of figures hasn't grown by much in the intervening period. One thing that has moved along is my determination to up my game in the terrain department. So far, the terrain boards have been completely re-styled and a lot of drop on stuff done for WWII in particular. Over the last few weeks, I have been working on some trees for my 28mm collections, including experimenting with armatures made from florist's wire and am quite pleased with the results. This post though is on a subject that cannot be avoided if you are going to wargame in North America - fences. There are a fair number of ready made items out there, some of which are not bad at all, but scratch-built is definitely the way to go if you want them to look realistic and are sad enough to care about such things.
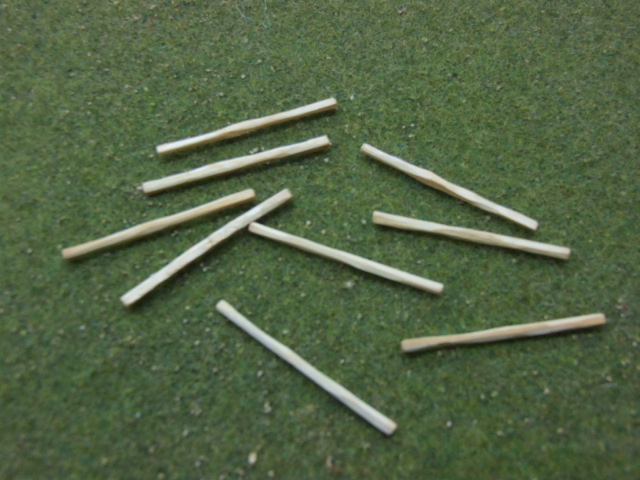
Having done a bit of online research, I decided to start with some snake fencing. I already had a load of matchsticks (around 2" long) and quickly realised that I couldn't really use them "straight from the box" - they were just far too neat and regular. So the first job was to take a small and very sharp knife and run it down all the corners in order to rough them up a little. One is easy, 10 not too bad, 50 and I am starting to wonder what knitting might be like as an alternative hobby. Am at the 300 mark about now and have ordered some knitting needles from EBAY just in case! I will probably need more like a thousand to get the 40 pieces, each 8" long that I will need. In all seriousness, this is a job to do little and often. I do 5 or 6 before I start work and similar sized batches throughout the day, and try not to think too much about it. It really is just persistence.
In the first photo, you might just be able to see the result. It may not seem much, but it does make a big difference to the overall final look.
For the sake of robustness, I decided that I would need to base them and chose 2mm plastic sheet. It is both robust and rigid, ordinary card or even MDF would probably "curl" a little over time. It was cut into 8" x 1" strips with the ends rounded off to make angles and joins that much easier. After that it is simply a matter of laying down layers of rails on top of each other until you get the height you need. In the photographs I have seen, such fencing can be anything from knee to head height, so I decided on a height of three/four rails, which looks fine for my 28mm AWI figures. Hopefully the following pictures illustrate the process well enough. One advantage of basing the fences, is that you can add a few upright or loose rails to aid realism, as well as a few tufts and the odd tree. I have painted the rails in various shades of grey, as this contrasts nicely with the bases. Modern photos seem to show that this colour is often achieved after a bit of time in the sun and rain.


The finished article looks OK I think but at the moment it is an only child. I have another 11 in various stages of completion at the moment. When they are done, I think I will go into full production and do the remainder in a single batch, over a period of a few weeks. I don't want to have to do this job again - I really don't - so I want to get it right first time. After that, I may look at some other kinds, such as stone fencing, although sanity may prevail here and I might go for the Grand Manner resin option.
Anyway, I hope that this mini tutorial has been of some interest. Will report back when I have a bit more to show.
I am also working on some extra figures to try and get a few small units done. The advantage with using an admittedly modified "Sharp Practice" is that I should be able to get a decent game with a fairly modest number of figures and build from there.
Anyway, I will report back when there is more to see, but I think I have got the AWI bug again.
Superb finish on the fences. I am looking forward to your commentary on your terrain boards. I have used the sawdust/paint finish on my boards for years and still really like the effect, but to refresh them I have wondered about the towel grass effect. What have you used? Is it flocking applied very evenly or is a type of flocked mat? Looks great. Love the blog.
ReplyDelete